Popping the hood of your car to reveal a dusty, greasy engine bay can be a little disheartening. While it’s the one part of the car most people never see, keeping it clean is about more than just looks. A clean engine bay makes it much easier to spot new leaks from oil or coolant lines before they become major problems. It makes working on your car safer and more pleasant, and it can even boost resale value by showing a potential buyer that you meticulously took care of your vehicle. Furthermore, thick layers of caked-on grime can trap heat, making your engine and its components work harder. A little bit of cleaning can go a long way in maintaining the health and longevity of your car.
Pre-Game Prep: Protect and Gather
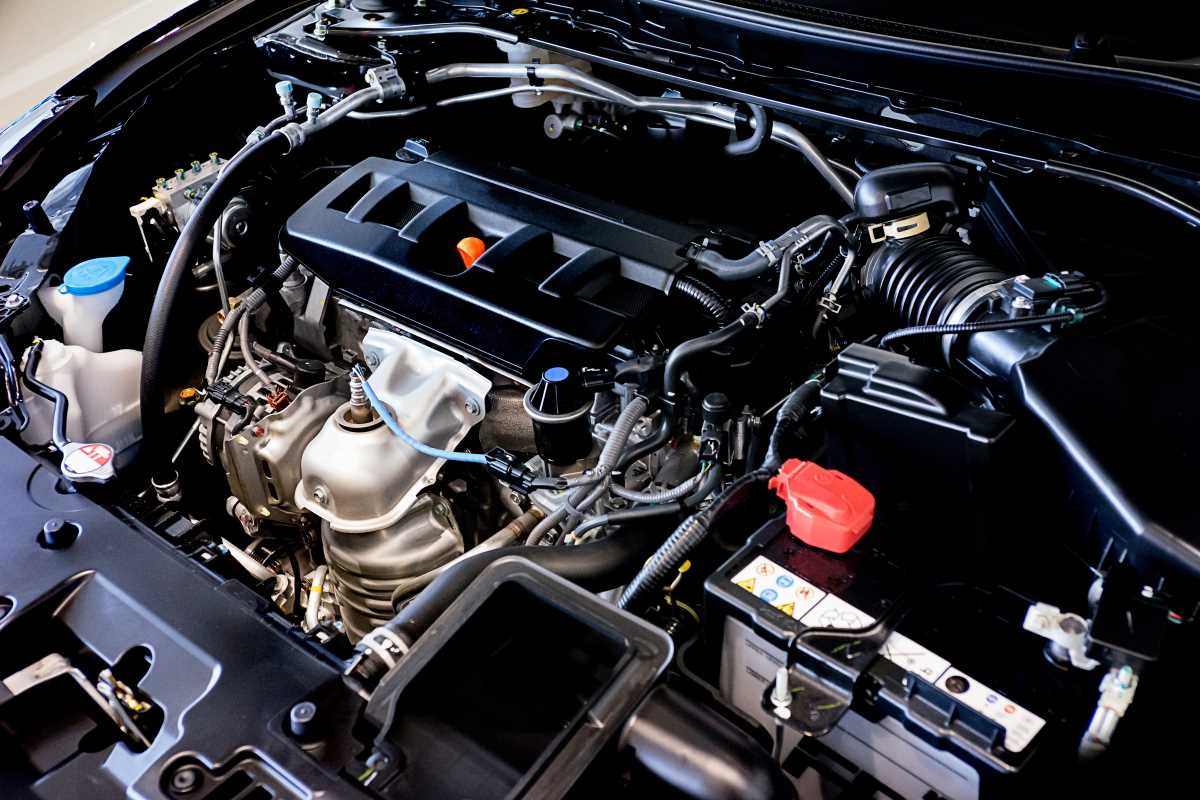
Before you even think about spraying water, you need to protect the sensitive parts of your engine. The most important rule is to work on a cool engine. Never spray water on a hot engine, as the rapid temperature change can crack metal parts like the exhaust manifold. Start by identifying key electrical components. You’ll want to cover the alternator, any exposed air filters or intakes, the battery terminals, and the main fuse box. Plastic grocery bags and some painter’s tape work perfectly for this. If you have any aftermarket electronics like an alarm or amplifier, cover those connections too.
Once your engine is prepped, gather your supplies. You'll need a quality automotive degreaser or an all-purpose cleaner (APC), an assortment of soft-bristled brushes of various sizes, several microfiber towels, and a low-pressure water source like a garden hose with a gentle spray nozzle or a simple pump sprayer.
The Cleaning Process: Step-by-Step
Start by giving the engine bay a quick pre-clean. You can use a leaf blower or compressed air to blow out loose leaves and dust. Next, carefully cover all the sensitive components you identified earlier. Secure the plastic bags with tape to ensure no water gets in.
Now, apply your degreaser or APC, focusing on the dirtiest, most greasy areas first. Let the cleaner sit for a few minutes to break down the grime, but don’t let it dry on the surface. Use your brushes to gently agitate the dirt on all the plastic covers, hoses, and accessible metal parts. A long-handled brush is great for reaching deep into the bay, while smaller detail brushes are perfect for tight spots.
After you’ve scrubbed everything, it’s time for a controlled rinse. Use your hose on a light shower setting or your pump sprayer. The goal is to use as little water as possible to rinse away the cleaner and dirt. Avoid spraying directly at the areas you covered and never use a high-pressure washer, as it can force water into electrical connectors and cause major problems. Rinse from the top down.
With the engine rinsed, the next step is drying. Remove the plastic coverings and use a leaf blower or compressed air to blow out most of the standing water, especially from coil packs and connector areas. Follow up with microfiber towels to dry everything thoroughly.
Special Cases and Finishing Touches
The process is similar for most modern cars, but older vehicles with distributors and carburetors require extra care around those components. For hybrid and electric vehicles, it is extremely important to consult your owner’s manual first. These vehicles have high-voltage orange cables that should be treated with extreme caution. Often, a waterless engine detailer and towels are a much safer approach for these powertrains.
To give your engine bay that showroom look, apply a water-based plastic and rubber dressing to all the black plastic covers and hoses. This restores a rich, dark finish without leaving a greasy, dust-attracting residue. Don't forget to wipe down the underside of the hood and the painted fender edges inside the bay.
Common Mistakes and Final Checks
The biggest mistakes people make are spraying a hot engine, using a high-pressure washer, and forgetting to cover sensitive electronics. Soaking an ignition coil or forcing water into a sealed connector can lead to misfires and a "Check Engine" light. Also, avoid harsh, acidic cleaners that can stain aluminum parts and damage rubber hoses.
After everything is clean and dry, reconnect anything you may have unplugged. Before you close the hood, start the engine and let it run for a few minutes to help any remaining moisture evaporate. This is also a great time to do a final visual inspection. With all the grime gone, you might spot a worn belt or a seeping hose you couldn't see before. A clean engine bay not only looks great but also makes you a more informed and proactive car owner. This entire project typically takes about an hour and costs very little, making it a highly rewarding DIY task.