Tires are the only part of your car that actually touches the road, yet they are often one of the most neglected components. Forgetting to rotate them is like only working out one arm at the gym—it leads to uneven results and potential problems. Uneven tire wear doesn't just shorten the life of your expensive rubber; it directly impacts your car's handling, braking, and overall stability. This creates a serious safety risk that can increase your chances of an accident, especially in bad weather. From an insurance standpoint, consistent vehicle maintenance, including tire rotation, demonstrates you are a responsible owner. While a claim won't be denied for failing to rotate your tires, anything that contributes to an accident, like poor traction from worn tires, can complicate the situation. Learning to rotate your own tires is a powerful DIY skill that saves money, extends tire life, and keeps you safer on the road.
What is Tire Rotation and Why Does it Matter?
Tire rotation is the simple process of moving each tire to a different position on the vehicle. Think about it: your front tires do all the steering and, on a front-wheel-drive car, handle most of the power delivery and braking forces. This means they wear out much faster than the rear tires. By periodically swapping their positions, you allow them to wear down evenly. This simple act provides a huge return. It maximizes the lifespan of your tires, saving you from buying a new set prematurely. It also maintains balanced handling and traction, which is critical for safe cornering and stopping. Many tire manufacturers even require regular rotations to keep the warranty valid. For all-wheel-drive (AWD) vehicles, even wear is especially important to prevent strain on the complex drivetrain components. A typical rotation interval is every 5,000 to 7,500 miles, but your car's owner's manual will provide the exact recommendation.
Know Your Tires and Rotation Pattern
Before you lift the car, you need to know what kind of tires you have and the correct rotation pattern. Look at the sidewall of your tires. If you see an arrow or the word "Rotation," you have directional tires. These are designed to roll in only one direction and can only be swapped between the front and back on the same side of the car. Non-directional tires are more common and can be moved to any position. You also need to know if you have a "staggered" setup, where the rear tires are a different size than the front ones, which is common on performance cars. In this case, you can only swap them from side to side, assuming they aren't directional. The most common rotation pattern for front-wheel-drive cars is the forward cross, where the front tires move straight back and the rear tires cross to opposite sides in the front. For rear-wheel and all-wheel-drive vehicles, the rear-cross pattern is typical: rear tires move straight forward and front tires cross to the back. Your owner's manual is the ultimate guide here; always check it for the specific pattern your vehicle requires.
Step 1: Prepare the Workspace and Gather Your Tools
Safety is the most important part of this job. You must work on a flat, level, and solid surface like a concrete garage floor or a paved driveway. Never attempt this on soft ground, grass, or a sloped surface. Engage your parking brake and put the car in "Park" or in first gear for a manual transmission. It’s also a great idea to chock the wheels on the opposite end of the car from where you will be lifting first. This prevents the car from rolling.
You will need a few key tools: a lug wrench to loosen the nuts, a hydraulic floor jack capable of lifting your vehicle's weight, and at least two jack stands. Do not ever work on a car supported only by a jack. Jacks can and do fail. You will also need a torque wrench for correctly tightening the lug nuts when you are done. Having a small piece of chalk or a marker to label each tire's original position (like "RF" for right front) can help you keep track of the rotation pattern.
Step 2: Loosen the Lugs and Lift the Car Safely
With the car still on the ground, use your lug wrench to "break" the lug nuts loose on the wheels you plan to remove first. This means turning them about a quarter to a half turn counter-clockwise. It takes a lot of force to do this, and trying to do it with the car in the air will just cause the wheel to spin. Once the nuts are loosened, consult your owner's manual to find the vehicle's official jacking points. These are reinforced areas on the car's frame designed to handle the load. Placing the jack in the wrong spot can damage your car or lead to an unstable lift.
Position the floor jack under the correct jacking point and slowly pump the handle to raise the vehicle until the tire is a few inches off the ground. Immediately slide a jack stand into place under a solid frame member or designated support point near the jack. Slowly lower the jack until the car's weight rests securely on the jack stand. Never place any part of your body under the vehicle until it is firmly supported by stands. Repeat this process to lift either the entire front or entire rear of the vehicle, or one full side, depending on your rotation pattern and the number of jack stands you have.
Step 3: Remove the Tires and Follow the Pattern
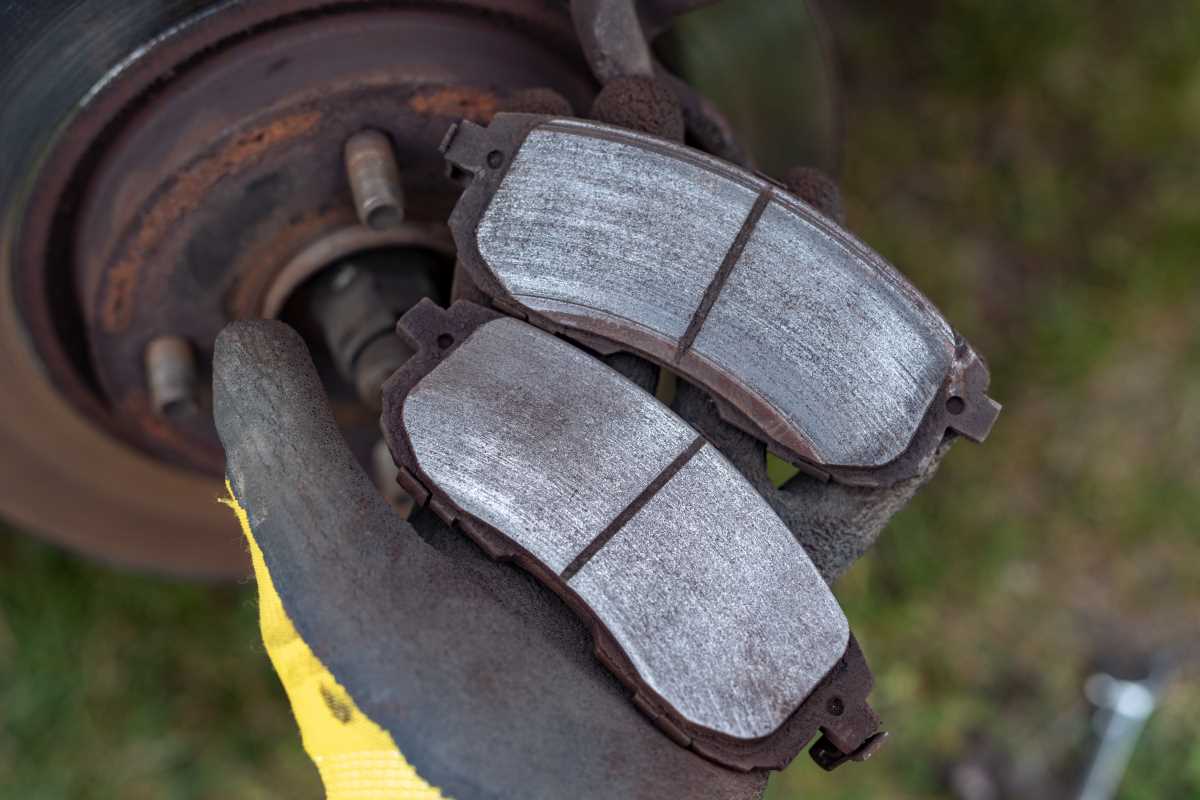
Now that the car is safely supported, you can finish unscrewing the lug nuts and remove the wheels. It’s a good practice to place the wheels flat on the ground so they don’t roll away. With the wheels off, this is a perfect time to inspect your brake pads, rotors, and suspension components for any visible issues. Also, take a look at the tread on the tires you just removed. Any unusual wear patterns, like heavy wear on just the inside or outside edge, can signal an alignment problem that a simple rotation won't fix.
Refer to the rotation pattern you identified earlier. Let's say you're using a forward cross pattern on a front-wheel-drive car. You would move the right front tire straight to the right rear position. Then you would move the left front tire straight to the left rear position. The right rear tire would move to the left front position, and the left rear tire would move to the right front position. Using chalk marks to keep track of which tire goes where makes this process foolproof.
Step 4: Reinstall the Tires Correctly
Move each tire to its new position and mount it onto the wheel studs. Thread the lug nuts back on by hand until they are "finger tight." This ensures you don't cross-thread them, which can cause serious damage. Once all the nuts are hand-tightened, use your lug wrench to snug them up in a star or crisscross pattern. This is crucial for seating the wheel evenly against the hub. Do not tighten one nut all the way before moving to the next. Give each nut a partial turn, then move to the one across from it, continuing until they are all snug.
With the wheels reinstalled and lug nuts snug, carefully raise the vehicle with the jack just enough to remove the jack stands. Then, slowly lower the car until the tires are back on the ground. Now, you need to do the final and most important tightening with your torque wrench.
Step 5: Torque, Check Pressure, and Test Drive
Every vehicle has a specific torque specification for its lug nuts, which can be found in the owner's manual. Set your torque wrench to this value. Following the same star pattern, tighten each lug nut until the wrench makes a "click" sound, indicating you've reached the correct torque. Over-tightening can warp brake rotors and damage the wheel studs, while under-tightening can lead to a wheel coming off while you drive.
Next, check the air pressure in all four tires and adjust it to the recommended PSI listed on the sticker inside your driver's side doorjamb. Tire pressure can change with temperature, and it’s a good habit to check it regularly. Some modern cars may also require you to reset the Tire Pressure Monitoring System (TPMS) after a rotation. The procedure for this is also in your manual. Finally, take the car for a short, slow test drive around the block to feel for any vibrations or strange noises. As a final safety check, it is a professional best practice to re-torque the lug nuts after driving 50 to 100 miles to ensure they are still perfectly tight. Doing this job yourself saves you between $25 and $75 and takes less than an hour, all while giving you valuable insight into the condition of your vehicle.