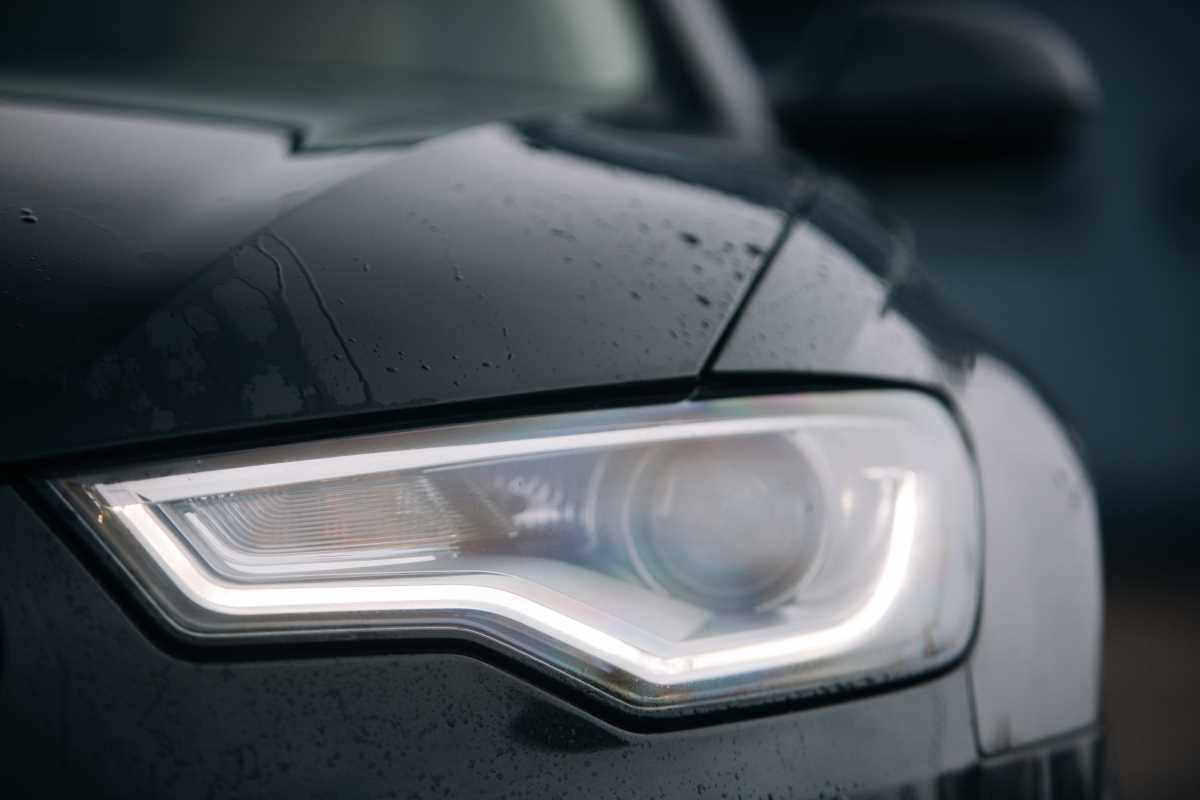
Driving at night with cloudy, yellowed headlights is like trying to see through a dirty window—it’s difficult and dangerous. That hazy film on your headlight lenses severely reduces the amount of light hitting the road, cutting down your visibility and reaction time. This isn’t just a cosmetic issue; it’s a major safety hazard that can lead to failing a vehicle inspection and can even decrease your car’s resale value. From an insurance standpoint, anything that impairs your ability to see and be seen increases your risk of an accident. While you wouldn’t file a claim for foggy headlights, an accident caused by poor nighttime visibility could create a world of headaches. The great news is that you don't need to spend hundreds of dollars on new headlight assemblies. Restoring them to like-new clarity is a surprisingly easy and affordable DIY project.
Why Do Headlights Get Cloudy Anyway?
Modern car headlights are made from a durable plastic called polycarbonate, not glass. While strong, this material is vulnerable to the sun's ultraviolet (UV) rays. To protect it, manufacturers apply a clear UV-blocking coating at the factory. Over time, constant exposure to sunlight, road salt, harsh chemicals, and small bits of flying debris wears away this protective layer. Once the coating is gone, the polycarbonate itself begins to oxidize and degrade, creating that ugly yellow, cloudy appearance. This process, called oxidation, is what blocks the light from shining through clearly. Restoring your headlights involves removing this damaged, oxidized layer and then applying a new, long-lasting protective coating.
Evaluating the Damage: Restore or Replace?
Before you buy any products, take a close look at your headlights. Is the cloudiness and yellowing on the outside of the lens? You can confirm this by feeling it; the surface will likely feel rough or gritty. If so, it’s the perfect candidate for restoration. However, if you see moisture or condensation on the inside of the headlight, or if the plastic has deep cracks, restoration won’t fix the problem. Internal moisture means the seal on the headlight assembly has failed, and it will need to be replaced. For most cars, the problem is purely external oxidation, which is completely fixable.
All-in-One Polishing Creams
The simplest products on the market are one-step polishing creams. These are designed for very light hazing and yellowing. They contain fine abrasives that gently polish the surface of the lens to remove the top layer of oxidation. To use them, you simply apply a small amount of the cream to a microfiber towel or applicator pad and rub it vigorously on the headlight lens until the haze disappears. While these products are cheap and incredibly easy to use, they offer a temporary solution. Because they don't include a protective sealant, the headlights will likely start to cloud up again in just a few months as the unprotected plastic is exposed to UV rays. They are a good quick fix, but not a long-term repair.
Multi-Step Restoration Kits
For moderate to heavy cloudiness, a multi-step restoration kit is the most effective DIY solution. These kits provide everything you need to do the job right, including sanding discs of various grits, a polishing compound, and a crucial UV-blocking sealant. They are designed to completely remove the oxidized layer and then protect the lens for long-lasting clarity. The results from a quality kit can look just as good as a professional service and can last for a year or more. Prices for these kits typically range from $15 to $30, making them an incredible value. Some kits even come with a drill attachment, which speeds up the sanding and polishing steps considerably.
The Household Hack: Does Toothpaste Work?
You may have seen videos online suggesting the use of toothpaste to clean headlights. This hack works, but only to a very limited extent. Toothpaste contains mild abrasives, like a very fine polishing compound. It can scrub away the lightest layer of surface oxidation and make a headlight look better for a short time. However, it doesn't remove deeper damage, and more importantly, it offers zero UV protection. Just like the one-step creams, using toothpaste is a temporary fix that will need to be repeated frequently. A proper restoration kit is a far more effective and durable solution.
How to Use a Multi-Step Kit: A Step-by-Step Guide
Using a full restoration kit is straightforward if you follow the steps carefully. Start by washing the headlights and the surrounding area thoroughly with car soap. The most important prep step is to use painter's tape to mask off all the painted surfaces around the headlight. The sanding process can easily scratch your car’s paint, so a protective border of tape is essential. Also, be sure to wear gloves and eye protection.
The first real step is sanding. Your kit will come with several grits of sandpaper, perhaps 800, 1500, and 3000-grit. You always start with the most aggressive (lowest number) grit. Using a lubricant like water, spray the lens and the sanding disc and begin sanding the headlight in a consistent back-and-forth motion. Keep the surface wet. After sanding the entire lens, wipe it clean and switch to the next finer grit, this time sanding in the opposite direction. The lens will look very hazy and frosted at this stage; this is normal. Continue this process until you have used the finest grit sanding disc.
After the final sanding step, the lens will be smooth but very cloudy. Now it’s time to polish. Apply the polishing compound included in the kit to a foam pad and buff the lens until the clarity and shine return. The polish removes the fine sanding scratches and restores the optical clarity of the plastic.
The final and most crucial step is protection. Wipe the lens clean with an alcohol prep pad to remove any polishing oils. This ensures the sealant will bond properly. Carefully open the UV sealant wipe or clear coat provided in the kit and apply a single, even layer across the entire lens. Do not go back over areas you have already coated. Let the sealant cure completely according to the product instructions, which usually means not touching it or getting it wet for several hours. This new protective layer is what will keep your headlights from yellowing again.
Results, Maintenance, and Cost
The entire process with a multi-step kit takes about an hour. For an investment of around $25 and a little bit of effort, you can transform your headlights from cloudy and dangerous to crystal clear. The results can last for a year or even longer, depending on the quality of the UV sealant and your car's exposure to the sun. To maintain the finish, simply wash the headlights regularly and consider applying a synthetic paint sealant to them every few months for an extra layer of UV protection. This simple DIY project dramatically improves your nighttime driving safety and your car's appearance, saving you hundreds compared to the cost of new headlights.
